How to Pack Dishes for Moving — The Right Way

Moving day is fast approaching and you have a pile of dishes to pack. The question is — will they survive the move?
Of all the stresses moving day can bring, worrying about the china your grandmother passed down breaking in transit shouldn’t be one of them.
And you’re in luck — there is a way to pack your dishes to keep them safe and secure. In this guide, we’ll show you the best way to pack dishes for an accident-free move.
Table of Contents
- Materials List: What to Use to Pack Dishes
- How to Best Pack Dishes for Moving: 5 General Steps
- What Is the Best Way to Pack Dishes for Moving?
- Packing Dishes for Moving: Additional Tips
- Avoid Broken Dishes and Plan Your Move With Next Moving
Materials List: What to Use to Pack Dishes
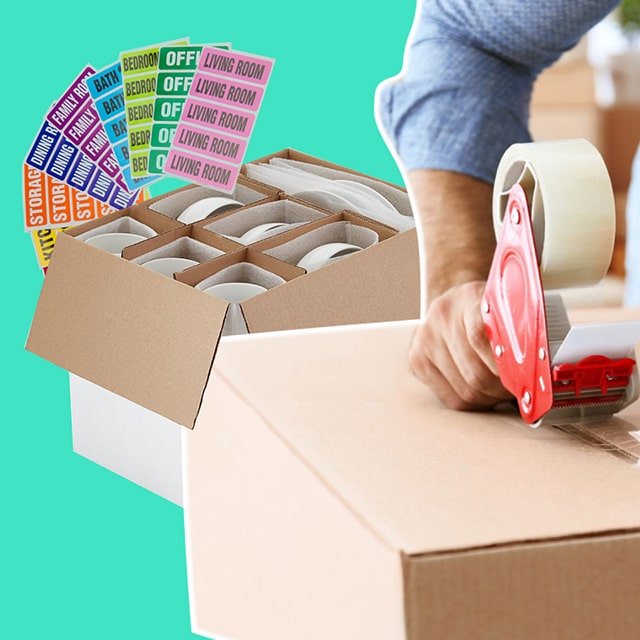
The time has come to pack up all the contents of your kitchen for your local or long-distance move. First, you’ll need to make sure you’re equipped with the right materials.
The best way to pack dishes for moving is to create as little wiggle room as possible to protect your dishes from breaking and chipping during transit. To avoid this, you’re going to need packing paper and lots of it.
In addition to packing paper, you’ll also need:
- Dish boxes
- Medium-sized moving boxes
- Packing tape
- Labels
Why You Need to Use a Dish Box
When it comes to packing dishes for a move, you may think that any regular moving box will do.
However, this is not the case. When tallying up how many boxes you’ll need for your move, you’ll want to factor in dish boxes.
Dish boxes are twice as thick as regular boxes and are designed to hold fragile items. The extra padding helps to absorb shock, providing an extra layer of protection from every bump in the road during transport.
How Do You Pack Dishes for Moving Without Paper?
The best answer for how to pack dishes for moving without paper is to avoid doing this at all costs.
Some people may use alternatives like newspapers, which can leave ink stains on your dishes. Other alternatives like towels or bubble wrap simply lack the versatility and ability to effectively fill in spaces so your dishes don’t shift around during the move.
There is simply no better alternative than packing paper. You won’t find a professional moving company that uses anything other than packing paper to safeguard your dishes.
How to Best Pack Dishes for Moving: 5 General Steps
When it comes to packing dishes for moving, there are five general steps to avoid broken dishes. We’ll get to more detailed instructions for packing specific items like wine glasses and pots and pans below.
Let’s walk through the basic steps of packing dishes for a move.
Step 1:
Assemble your dish boxes.
Keep in mind that these boxes may get heavy once you load all of your dishes inside, so be sure to tape your boxes very well so the tape doesn’t cave under the weight of your dishes.
Step 2:
Once your boxes are assembled, you’ll want to create a nice cushion for your dishes.
Create a six-inch cushion by lining the bottom of your box with crumpled pieces of packing paper.
Why should you crumple the packing paper into balls instead of neatly folding it?
Without going into too much detail and complex jargon about physics, crumpled paper provides more support and cushion for even heavy objects like a stack of dishes.
Step 3:
Now it’s time to individually wrap each dish. If you love wrapping Christmas or birthday gifts, this is your time to shine.
Lay your packing paper on a flat surface and place the dish in the middle. Wrap each dish according to its specific needs (we’ll explain more on this later) and secure the paper with packing tape.
Step 4:
Once all of your dishes are wrapped, it’s time to pack them into the dish box. Starting with the heaviest dishes, begin placing dishes into the box, filling in any space with crumpled balls of packing paper.
Step 5:
Remember when we said that you would need lots of packing paper? You were warned.
Once your dishes are tightly packed, top off the box with even more crumpled packing paper for added protection.
Tape the box closed and label the top of the box “this way up” and “fragile contents.”
Pro tip: Take this opportunity to also label the outside of the box with which dishes are inside and which room they belong to. This will save you a lot of headache when you finally settle into your new home and need to know which box contains your silverware.
How to Pack Different Types of Dishes
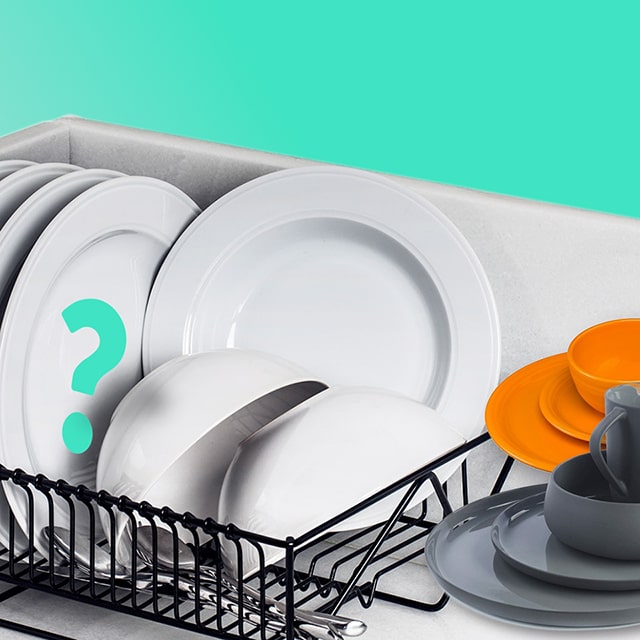
Don’t get us wrong, packing dishes for moving is not rocket science, but not all dishes are created equal.
Safely packing each type of dish requires a bit of know-how and je ne sais quoi. In the following sections, we’ll show you how to pack each type of dish for moving like a pro.
However, if you’ve made it this far and aren’t feeling confident in your packing abilities, or just want the liability of replacing possible broken dishes off of your pack, you may want to consider hiring a professional moving company.
At Next Moving, we are dedicated to making your house or apartment move easy and stress-free.
How to Pack Bowls and Plates
Bowls and plates are going to be the heaviest dishes that you pack into your dish box, so you’ll want to start packing these items first.
While bowls and plates are vastly different in shape, the methods for packing these dishes are the same.
To successfully pack bowls and plates, follow these steps:
- Lay out your packing paper on a flat surface and place the plate or bowl in the middle.
- Pull each corner of packing paper into the center of the plate or bowl and secure it with packing tape. To reduce the risk of chipping, be sure to wrap each plate and bowl individually.
- Place plates and bowls into a dish box vertically, as if you were loading a dishwasher.
- Continue packing plates and bowls into the dish box until the bottom of the box is covered. Only lighter dishes can be packed on top of this first layer, so once the bottom of your box is covered, start packing your remaining plates and bowls in other dish boxes.
How to Pack Mugs and Glasses
To safely wrap your mugs and glasses, follow these steps:
- Fill the mugs and glasses with crumpled packing paper.
- Lay 1-2 sheets of packing paper on a flat surface. Place the glass or mug in one corner of the packing paper at an angle.
- Roll the mug or glass across the paper to the opposite corner, wrapping the entire vessel. Fold the excess paper into the mug or glass for extra protection.
Since mugs and glasses are lighter, you can pack them on top of your bowls and plates. Be sure to use lots of packing paper to secure the dishes in place and eliminate the risk of movement as much as possible.
How to Pack Stemware
Usually made of glass or crystal, stemware is going to be your most fragile dish to pack and has the highest chance of breaking during transit.
To safely wrap your stemware, follow these steps:
- Fill the bowl of your stemware with crumpled packing paper.
- Lay 1-2 sheets of packing paper out on a flat surface and place your stemware in one corner of the packing paper at an angle.
- Roll the stemware to the opposite corner of the packing paper, tucking the excess inside the glass as you go.
- Make sure that you can’t feel the edges of your glass through the paper. If you can, wrap the stemware with more packing paper.
Your stemware are going to be your lightest dishes, so be sure to pack them at the top of your dish box and cushion them with lots of packing paper to limit any movement during transit.
How to Pack Pots and Pans
Your pots and pans do not need to be packed in dish boxes. However, this doesn’t mean that you shouldn’t wrap your pots and pans unless you’re okay with risking damage to your favorite non-stick pan.
To safely wrap your pots and pans, follow these steps:
- Lay 1-2 pieces of packing paper out on a flat surface and place your pot or pan in the middle.
- Fold each corner of the packing paper into the center of your pot or pan and re-enforce the vessel by filling it with crumpled packing paper.
- Pack your pots and pans in a medium-sized moving box.
Remember to place your heaviest pots and pans in the bottom of the moving box and stack lighter pots and pans on top with plenty of crumpled packing paper in between. If you own any cast iron pots and pans, they will definitely need to be packed first.
Packing Dishes for Moving: Additional Tips

Now that you know how to safely pack any type of dishware, let’s go over some additional tips to really make you a packing pro:
- Don’t pack your boxes too heavy. Too much weight can put your dish boxes at risk of collapsing under the weight of your dishware. Keeping the max weight of your box under 45 pounds is a good rule of thumb.
- Fill your dish boxes all the way to the top. If your box is not full but is maxing out on weight, fill the rest of the box with crumpled packing paper.
- No matter how well packed your dishes are, make sure that you handle your dish boxes with care and gently place them into the moving truck. Make sure your boxes are labeled “fragile” and notate “this way up”. If your dish box is packed upside-down, you can almost guarantee you’ll find broken dishes when you start unpacking.
Avoid Broken Plates and Plan Your Move With Next Moving
If you’re not confident in your packing abilities or dread the idea of ending up with broken dishes, leave your packing up to Next Moving.
Our team of professional movers is highly trained in executing accident-free moves. And in the rare, unfortunate case that your dishes are broken in transit, we will cover the replacement cost.
Let us make you move stress-free. Call us today for a free quote on your upcoming move.

